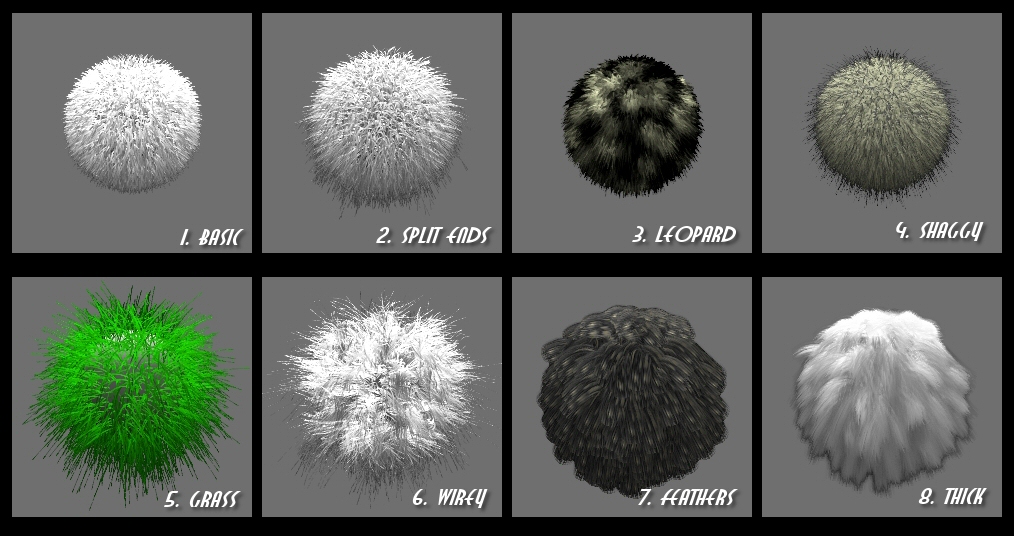
Fur Library v1.0

Download fur library: fur_library.zip
Static Particles Tutorial
This is a short tutorial designed to allow new users to get to the point where the above particles library will be of some use. Go through the tutorial and learn where to find all the options that control how static particles behave, then study the Static Particles Library to learn some cool tricks!
- Open Blender and make sure the default cube is selected.
- Go to the Object buttons (F7).
- Click on the Effects tab.
- Under the Effects tab click the button that says "NEW Effect".
- Now under the Effects tab you should see a dropdown menu that says "Build". Click on it and choose "Particles".
- Now you can see all the particles options. First click the button that says "Static".
- Find where it says Norm: 0.000 and change it to 0.030. This makes the particles be emitted in the direction of the polygon normals.
- Now find where it says "Force:". It will have X, Y, and Z values all around it. Change the Z value from 0.000 to -0.020 to simulate gravity.
- Find the button that says "Face" and click on it. This will make the particles be emitted from the faces instead of the vertices.
- Click the button that says "Vect". This will make the particles look like lines instead of circles.
- Find where it says "Step: 5". "Change it to Step: 1".
- Next to the Step value, it will say Life: 50.00. Change this value to 30.00.
Part 2: Materials Setup
- Go to the Materials buttons (F5)
- Click on the Shaders tab.
- Click on the Halo button.
- Now you are looking at the halo options. First click on the "Shaded button".
- Next locate teh HaloSize value. Change it to 0.050.
Now press F12 to render. You should now be looking at some fairly nice looking particle hairs!
Back to gallery...
Copyright 2005 Jason Pierce
